Design concrete steps ideas that feel great and look better
Front steps should feel welcoming, secure, and natural underfoot. Great design is not an accident. It starts with the right rise and run, a safe and generous landing, and materials that handle Wisconsin weather. In this guide, we share practical concrete steps ideas you can use to plan a front stoop that feels good every day. You will find recommended dimensions, examples for different entry heights, and tips for drainage, traction, and style. Whether you are refreshing a small porch or building a larger entry with statement steps, the details here will help you plan with confidence.
At Custom Concrete & Stone Design, we build front stoops and stairs across Southeast Wisconsin. Our team brings more than 30 years of experience to residential and commercial projects in Milwaukee, Waukesha, Ozaukee, Washington, Racine, and Kenosha Counties. If you want tailored concrete steps ideas that fit your home and budget, we are here to help with design, permitting guidance, and craftsmanship that lasts.
Comfort starts with rise and run
Rise is the vertical height of each step. Run is the horizontal depth of each tread. Together, rise and run determine how the steps feel to walk. When the proportions are off, steps feel awkward or risky. When they are right, you barely notice them at all.
Target dimensions for smooth walking
For most people, a riser between 6 inches and 7.25 inches feels comfortable. A tread depth of 11 to 12 inches gives your foot full support. As a rule of thumb, many pros use the 2R + T formula, where two risers plus one tread equal 24 to 25 inches. That ratio produces an easy stride that fits how people naturally walk.
Consistency matters even more than exact numbers. Keep every riser within about 3/8 inch of each other. A single step that is taller or shorter can trip people who rely on rhythm when climbing.
Working with your entry height
The total rise from the walkway to the threshold determines how many steps you need. Divide the total rise by your target riser height, then adjust slightly so each step is the same. If the numbers do not land perfectly, adjust tread depth or landing size rather than changing one riser more than the rest.
Landings that feel safe and spacious
Landings give people a place to pause, open the door, and turn safely. The top landing is where comfort meets safety, especially for visitors carrying bags or parents with kids.
Minimums and comfortable sizes
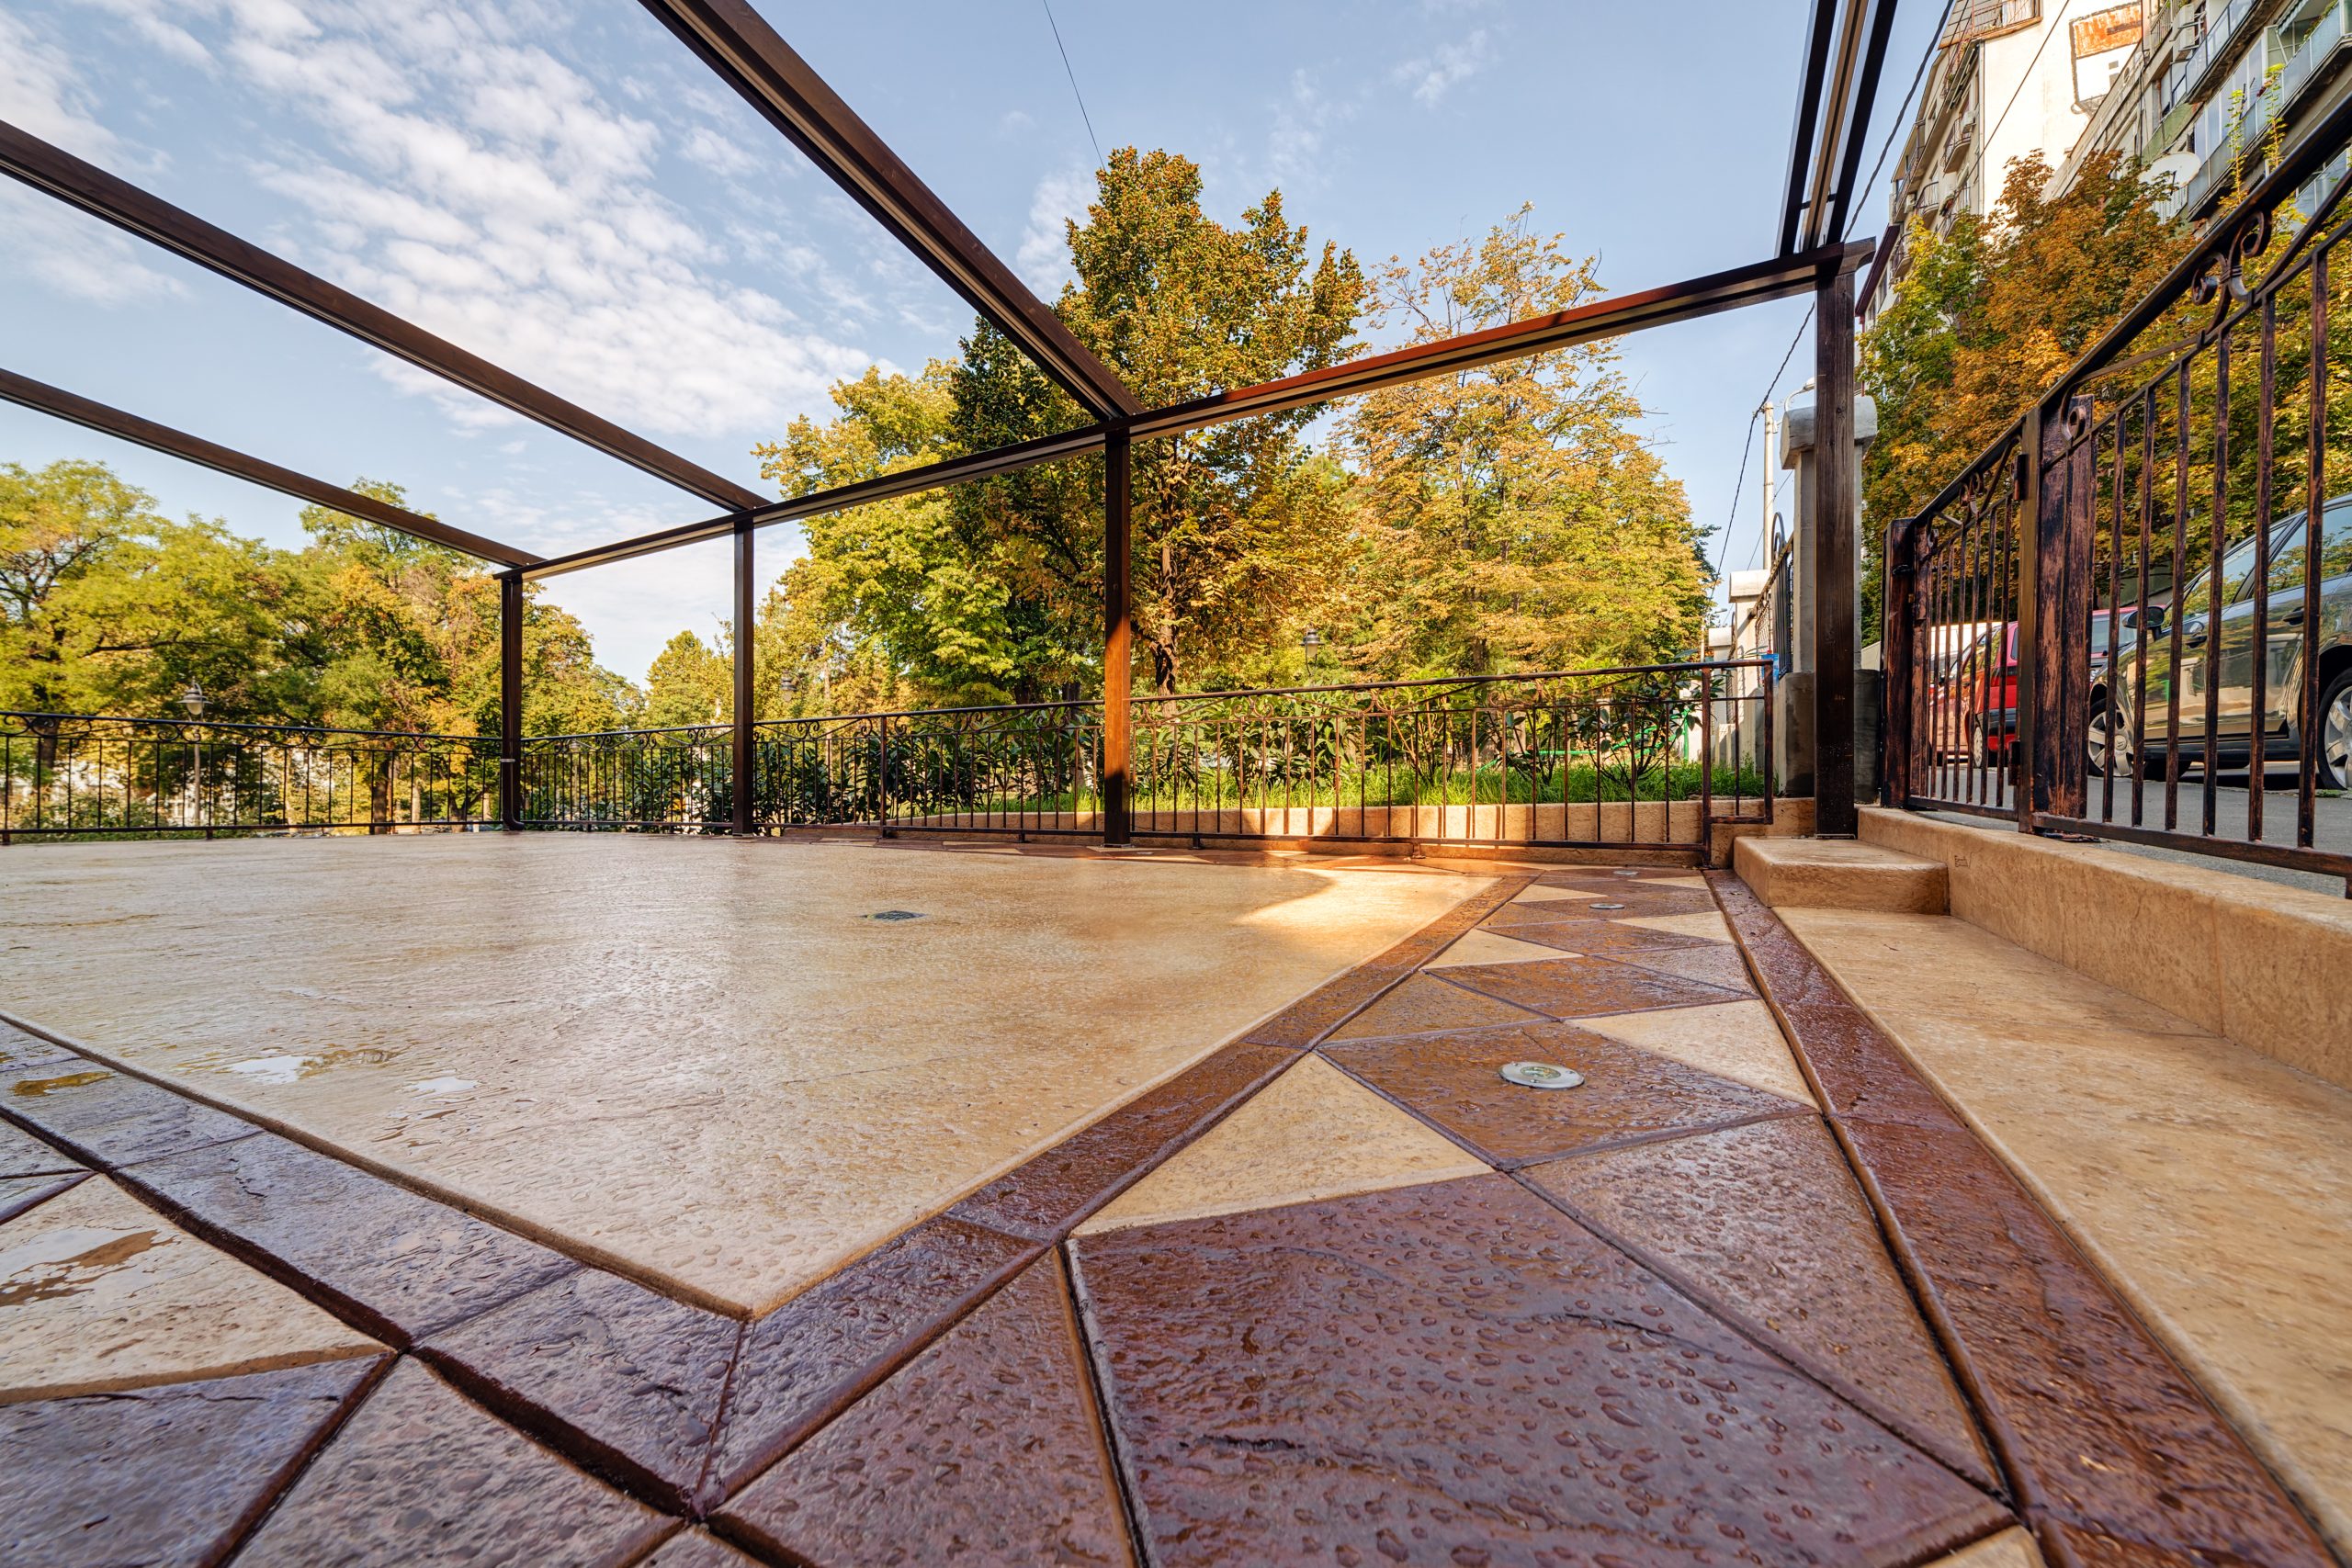
Many codes call for a minimum landing depth of 36 inches at the top of the stairs. That is the least you should plan. A landing between 48 and 60 inches feels better and makes it easier to manage door swings, strollers, and winter boots. The landing should be at least as wide as the door plus any sidelight. Wider is usually better for curb appeal and traffic flow.
Door swing and threshold details
Make sure the door can swing without hitting a step. The top landing should be just below the interior threshold, with a slight slope away from the house for drainage. A gentle slope of about 1/8 inch per foot is common to shed water without feeling tilted.
Concrete steps ideas for different stoop heights
Every entry is different. Here are concrete steps ideas that work for common heights and house styles. Use these as starting points, then customize to your site and preferences.
Low stoop: 1 to 2 steps
- Use 6.5 to 7 inch risers with 12 inch treads for stable footing.
- Set a generous landing of 48 inches or more, since you have the space.
- Add a subtle border or exposed aggregate band to enhance curb appeal.
- Consider one large platform step for a clean, modern look.
Mid-height stoop: 3 to 5 steps
- Keep risers near 6.75 inches for a comfortable climb.
- Plan a 48 to 60 inch top landing plus a mid-landing if space allows.
- Use L-shaped steps that wrap one side of the stoop to improve flow.
- Add low-voltage step lighting for safety and drama at night.
Tall stoop or porch: 6 or more steps
- Break the stairs into two flights with an intermediate landing.
- Design a U-shaped layout that returns toward the entry for compact sites.
- Include handrails on both sides, especially if the stairs are wide.
- Widen the lower steps to create a welcoming base that anchors the facade.
Tread depth, nosing, and edge details
The details you see and touch shape how the stairs feel. Good edges, tread proportions, and textures make a big difference with everyday use.
Tread depth you can trust
A 12 inch tread depth lets most shoes fit fully on each step. If your space is tight, do not go below 11 inches. For deeper treads, consider adding a gentle nosing to maintain a comfortable stride.
Nosing and edge safety
Rounded edges are easier on shoes and shins. A nosing of about 0.5 to 1.25 inches gives your foot a slight cue for the step while reducing trip risk. Avoid sharp arrises that chip and cause discomfort. At Custom Concrete & Stone Design, we often use a small radius edge or a formed bullnose for a refined, durable look.
Drainage and winter readiness in Wisconsin
Wisconsin winters test every exterior surface. Good drainage and traction are essential for safe stairs that last.
Surface slope and water control
Pitch treads slightly forward, around 1/8 inch per foot, so water does not pool near the riser. The landing should slope away from the house. Include drip edges or small grooves under nosings to reduce water tracking onto risers. Plan downspout routing so water does not spill across your steps.
Traction and de-icing choices
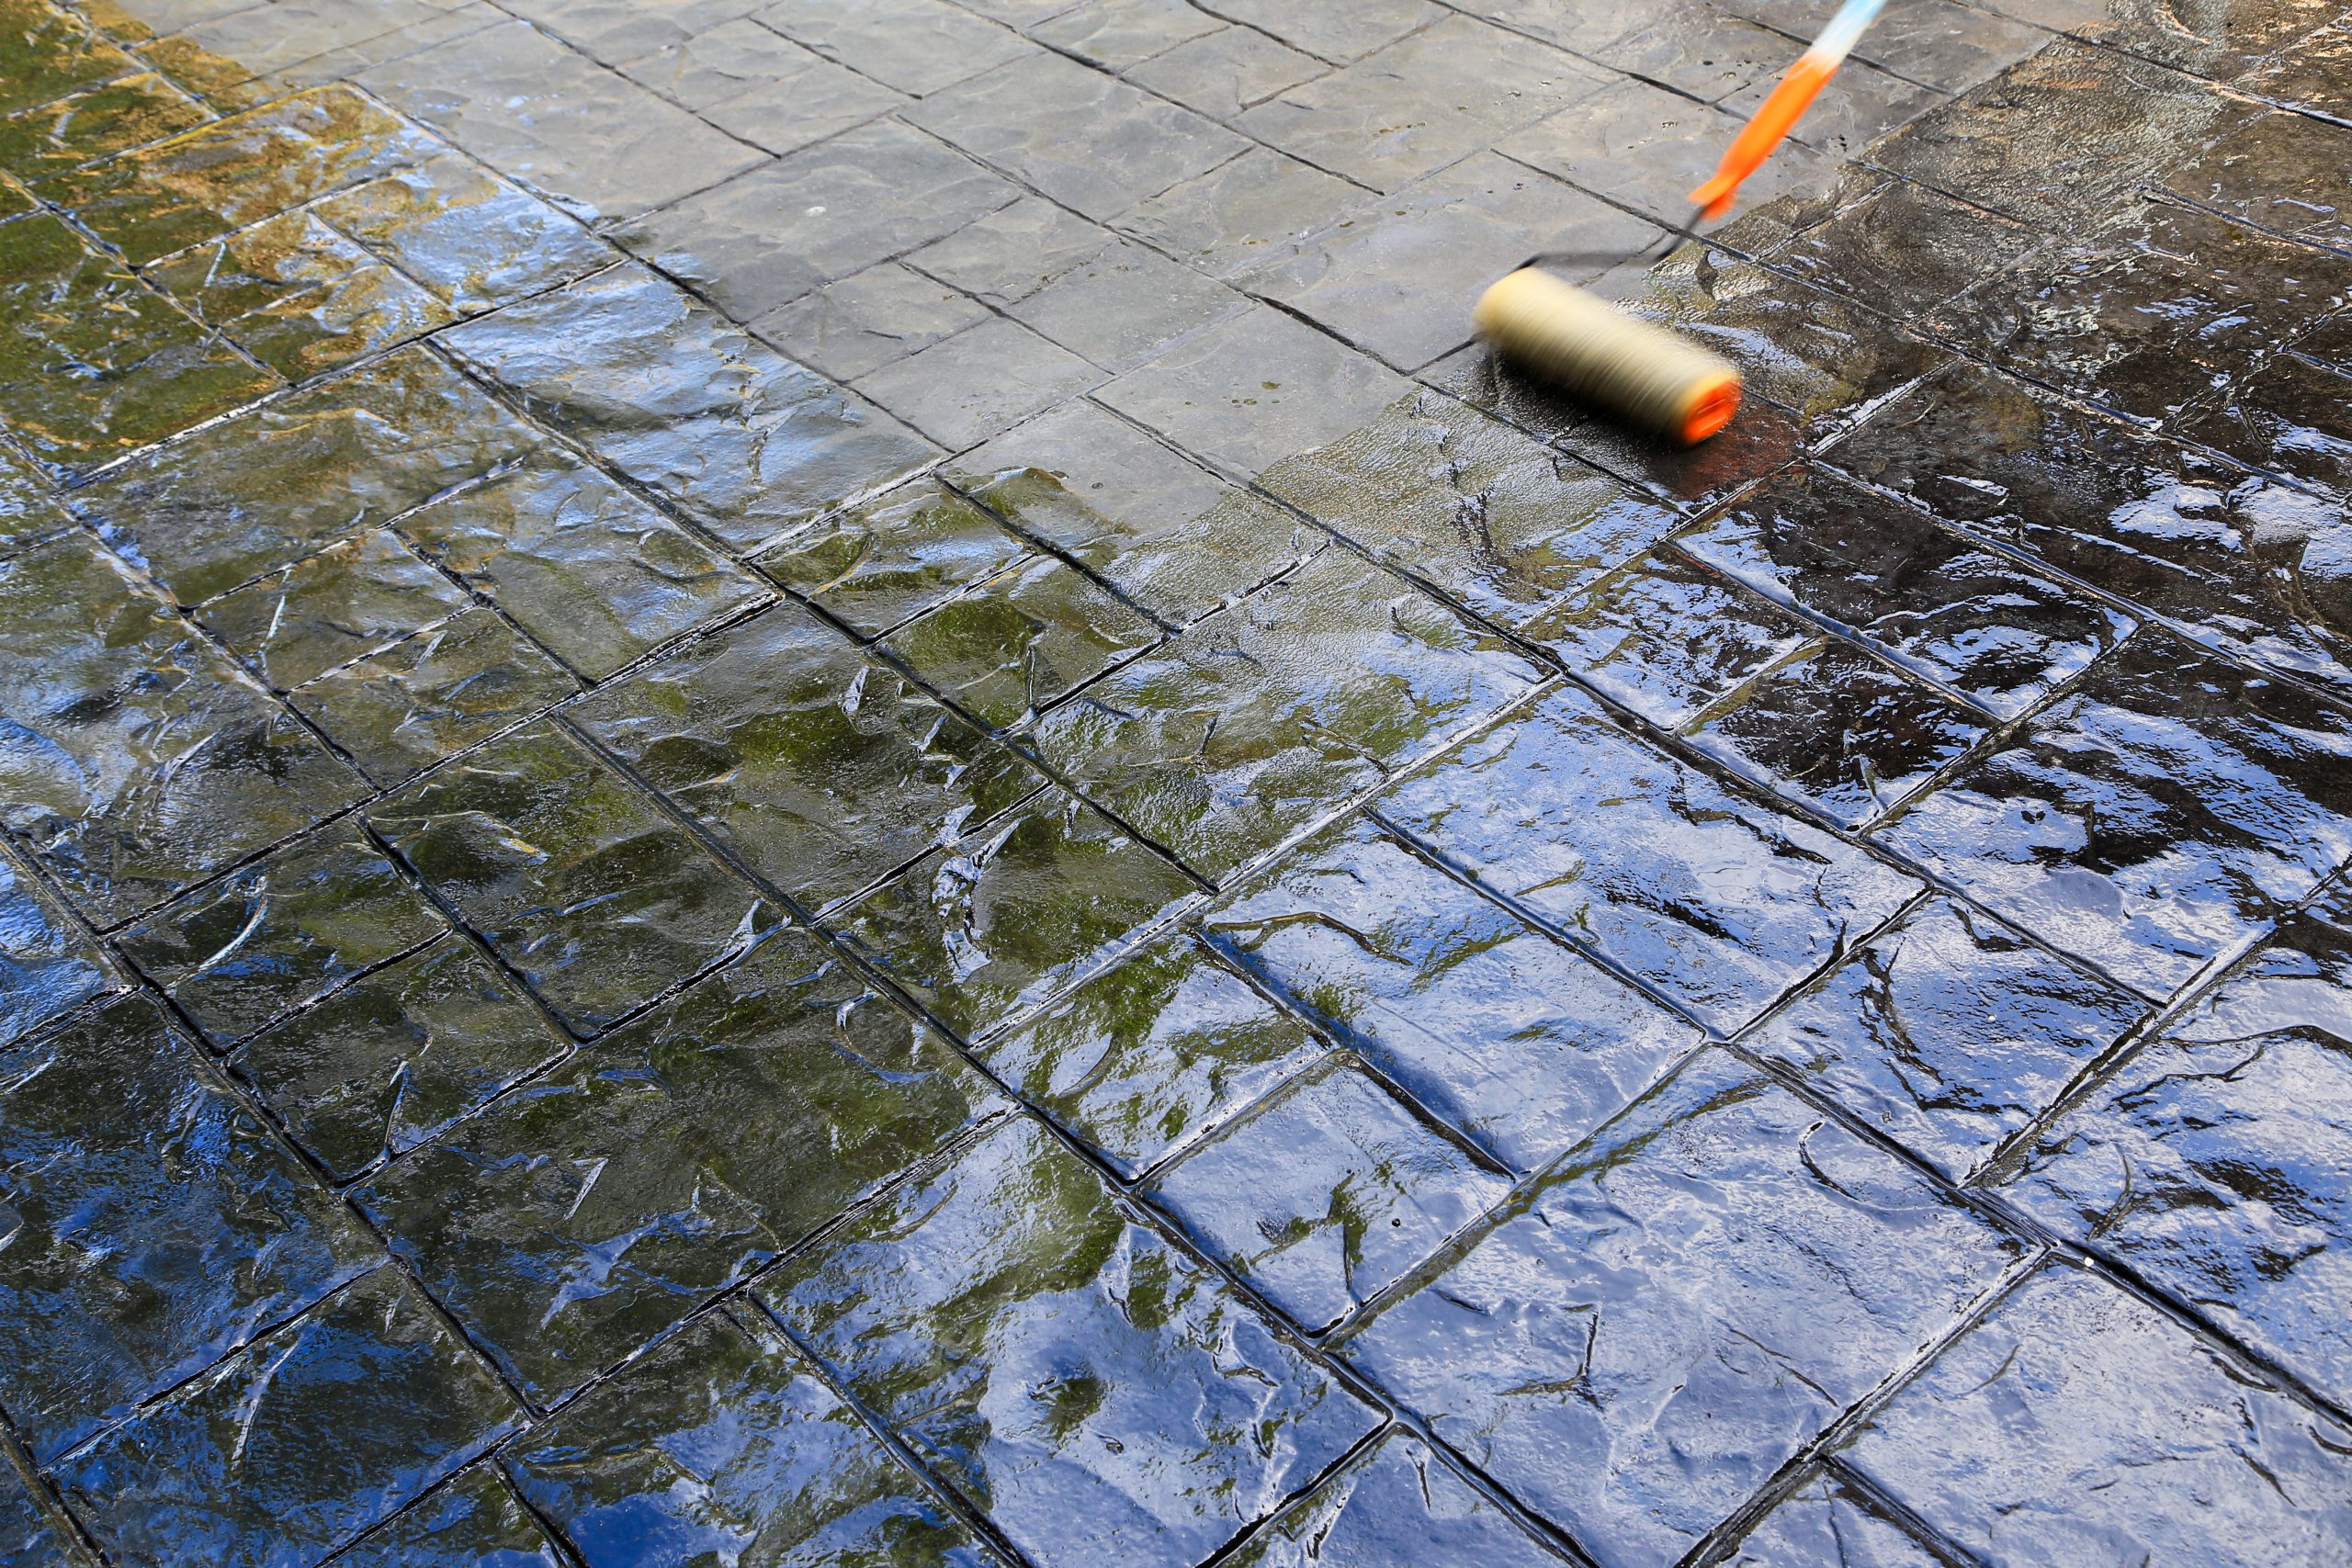
A broom finish offers reliable grip. For more texture, exposed aggregate provides excellent traction. If you prefer stamped concrete, pair it with a slip-resistant sealer. Use de-icers compatible with concrete, such as calcium chloride, and avoid rock salt where possible. Apply sealers designed for freeze-thaw cycles to protect against moisture and winter chemicals.
Style-forward concrete steps ideas
Your front steps are a design opportunity. The right textures, colors, and layout can elevate your entire entry.
Classic and timeless
- Broom finish treads with a smooth or light sand-finish riser for contrast.
- Neutral integral color like light gray or buff that pairs with almost any facade.
- Simple squared edges with a small radius for a crisp, enduring look.
- Brick or stone veneer risers to echo your home’s masonry.
Modern and minimal
- Wide platform steps with shallow risers and longer treads.
- Clean lines, large landings, and simple steel handrails.
- Monochrome integrally colored concrete in charcoal or warm gray.
- In-step LED lighting for a floating effect and safe nighttime use.
Rustic and warm
- Exposed aggregate or a lightly textured stamp pattern that mimics stone.
- Earth-tone integral colors with darker release accents.
- Wider first step that frames planters or low stone walls.
- Timber-look borders created with specialty stamps for a lodge feel.
Layouts that solve common site challenges
Great concrete steps ideas solve practical problems on your site while adding style. Here are options that work on many homes in Southeast Wisconsin.
L-shaped steps with side entry
Turn the steps 90 degrees and add a side landing. This keeps stairs away from driveway traffic and creates a natural place for a bench or planter.
Curved steps for narrow lots
Use a soft radius that widens toward the sidewalk. The curved shape guides guests toward the door and improves flow without needing more depth.
U-shaped with mid-landing for steep grades
Break the climb into two comfortable flights. The mid-landing gives people a place to rest and offers a focal point for lighting or planters.
Wrap-around stoop for social spaces
Extend the top landing along the front facade to create a small seating zone. This option works well with front porches and offers a welcoming feel.
Build-quality essentials that boost longevity
Quality materials and workmanship keep your stairs safe and beautiful for decades. Custom Concrete & Stone Design follows proven practices for our climate and soil conditions.
Base, reinforcement, and mix
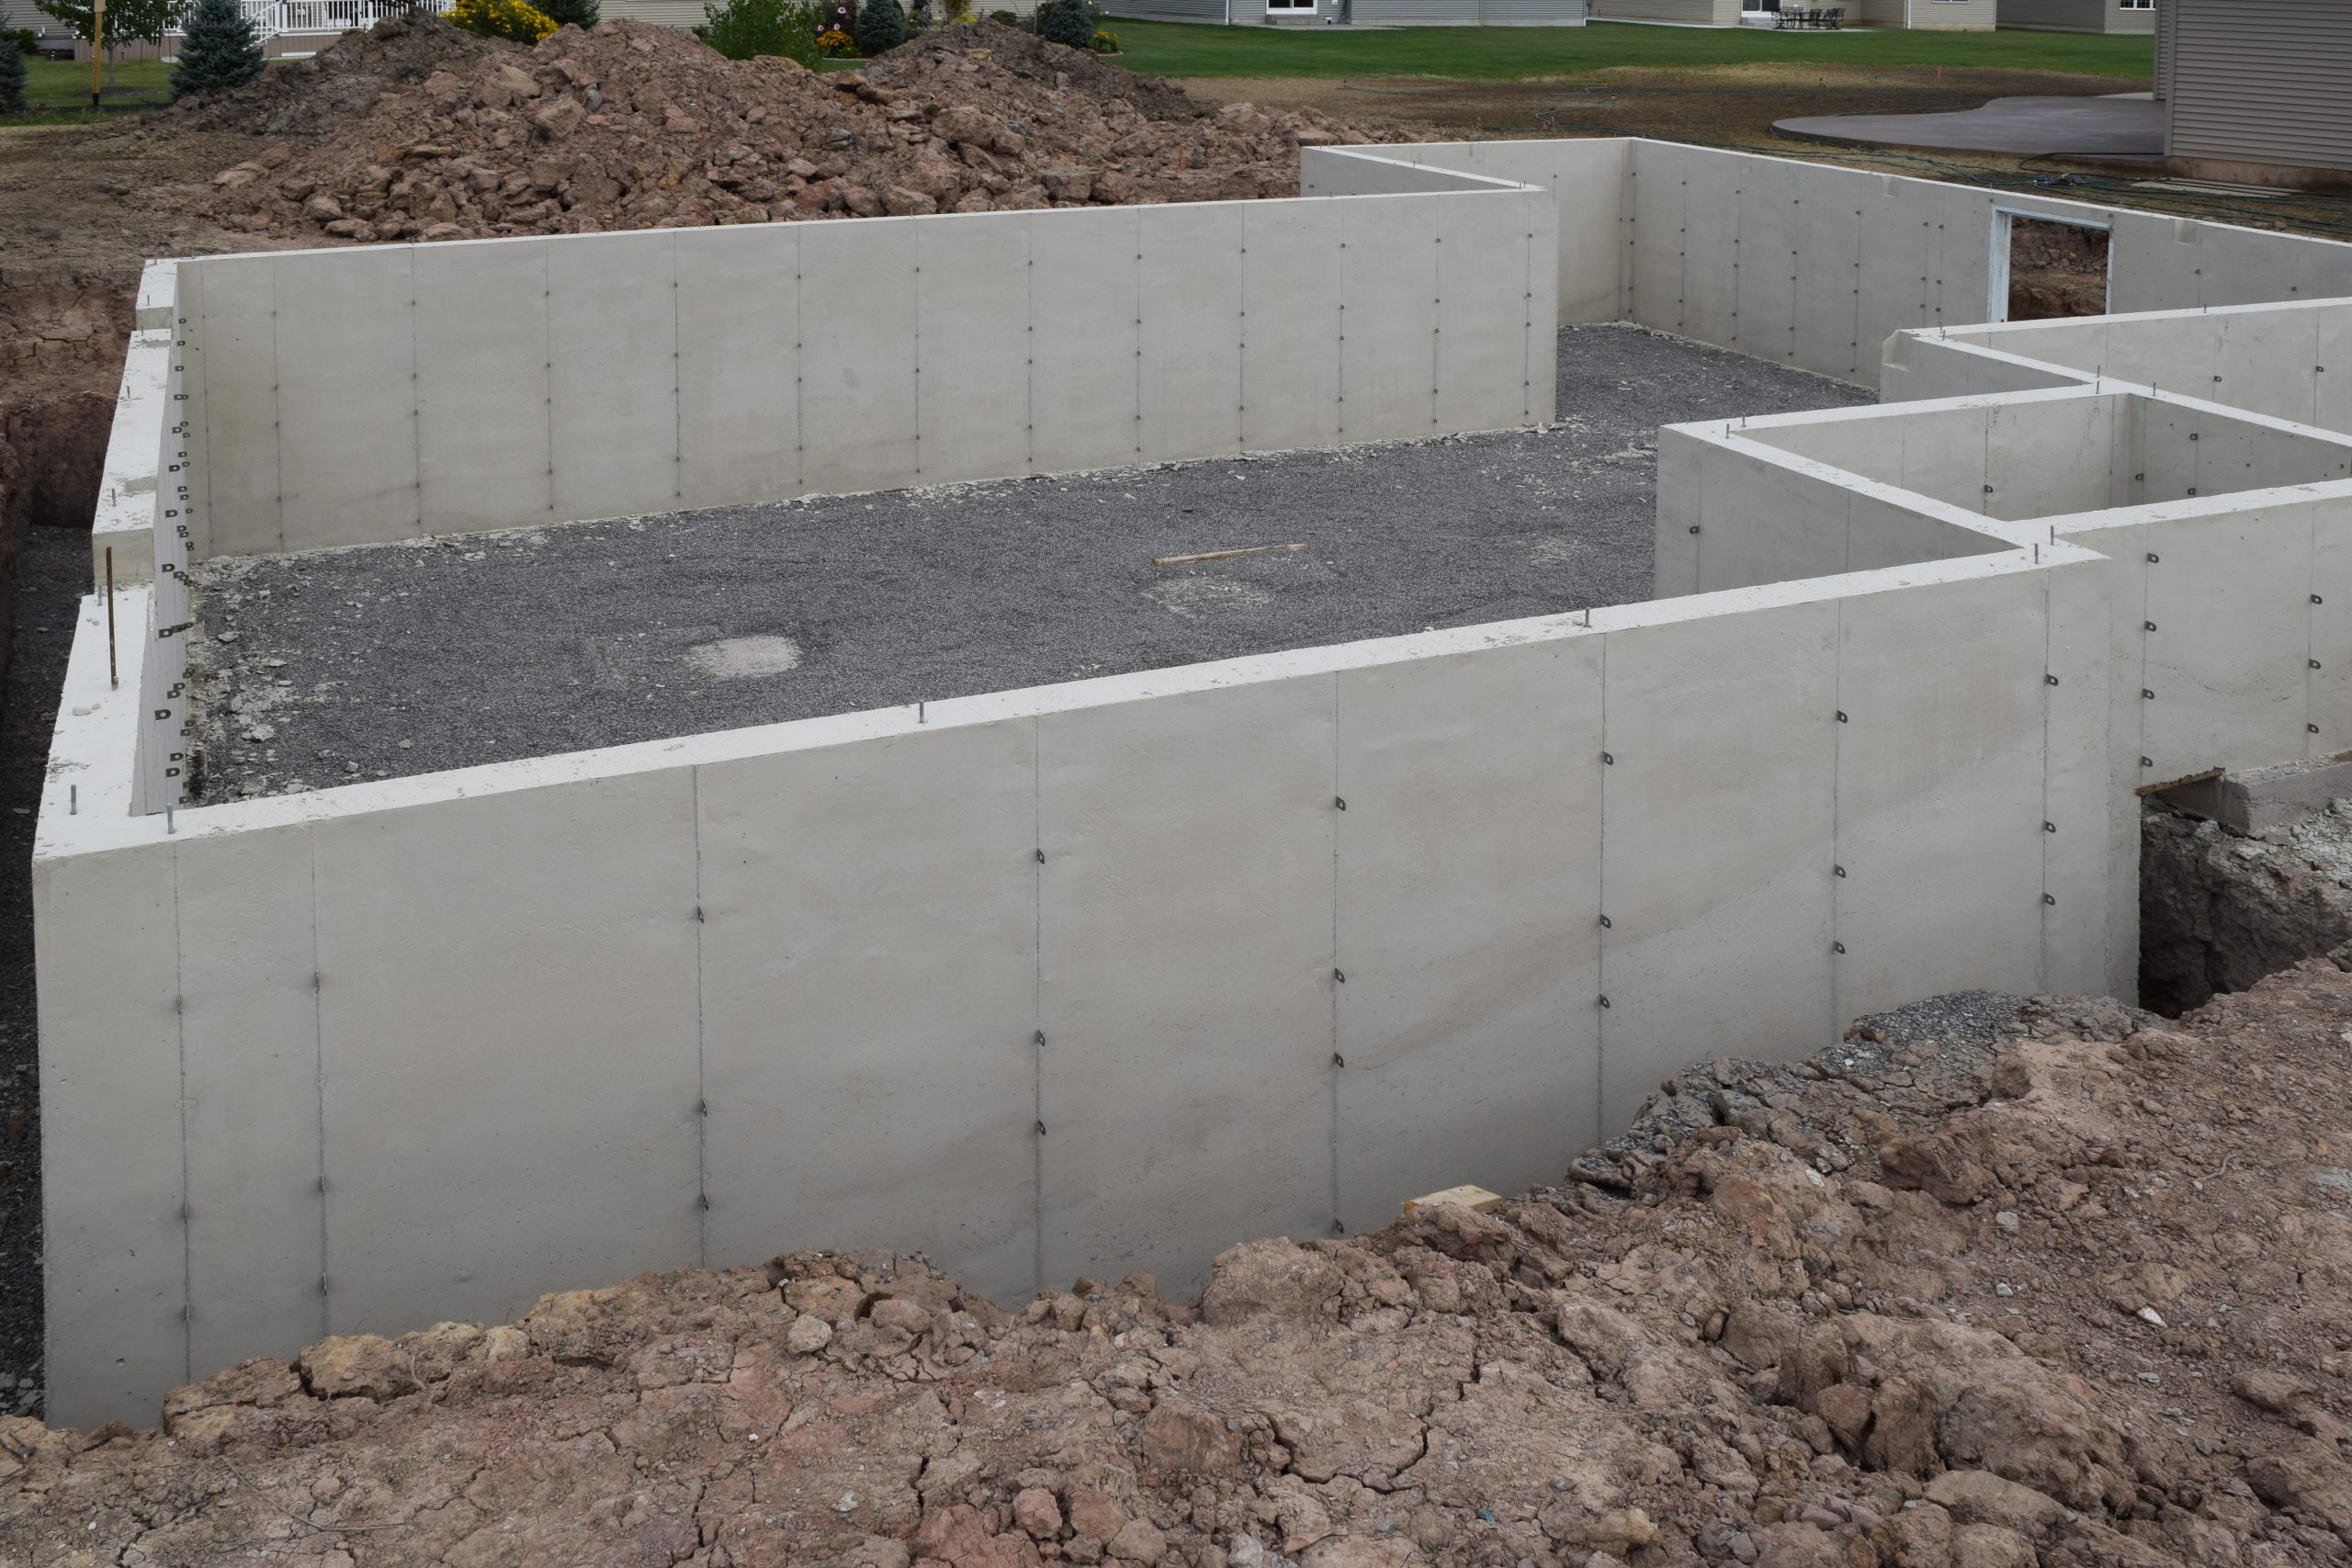
- Excavate to stable soil and place a compacted base, often 4 to 8 inches of dense-grade aggregate.
- Use steel reinforcement sized for the span, with proper cover to prevent corrosion.
- Choose an air-entrained concrete mix suited to freeze-thaw cycles, often around 4000 psi.
- Form crisp edges with attention to consistent riser heights and tread dimensions.
Placement, curing, and sealing
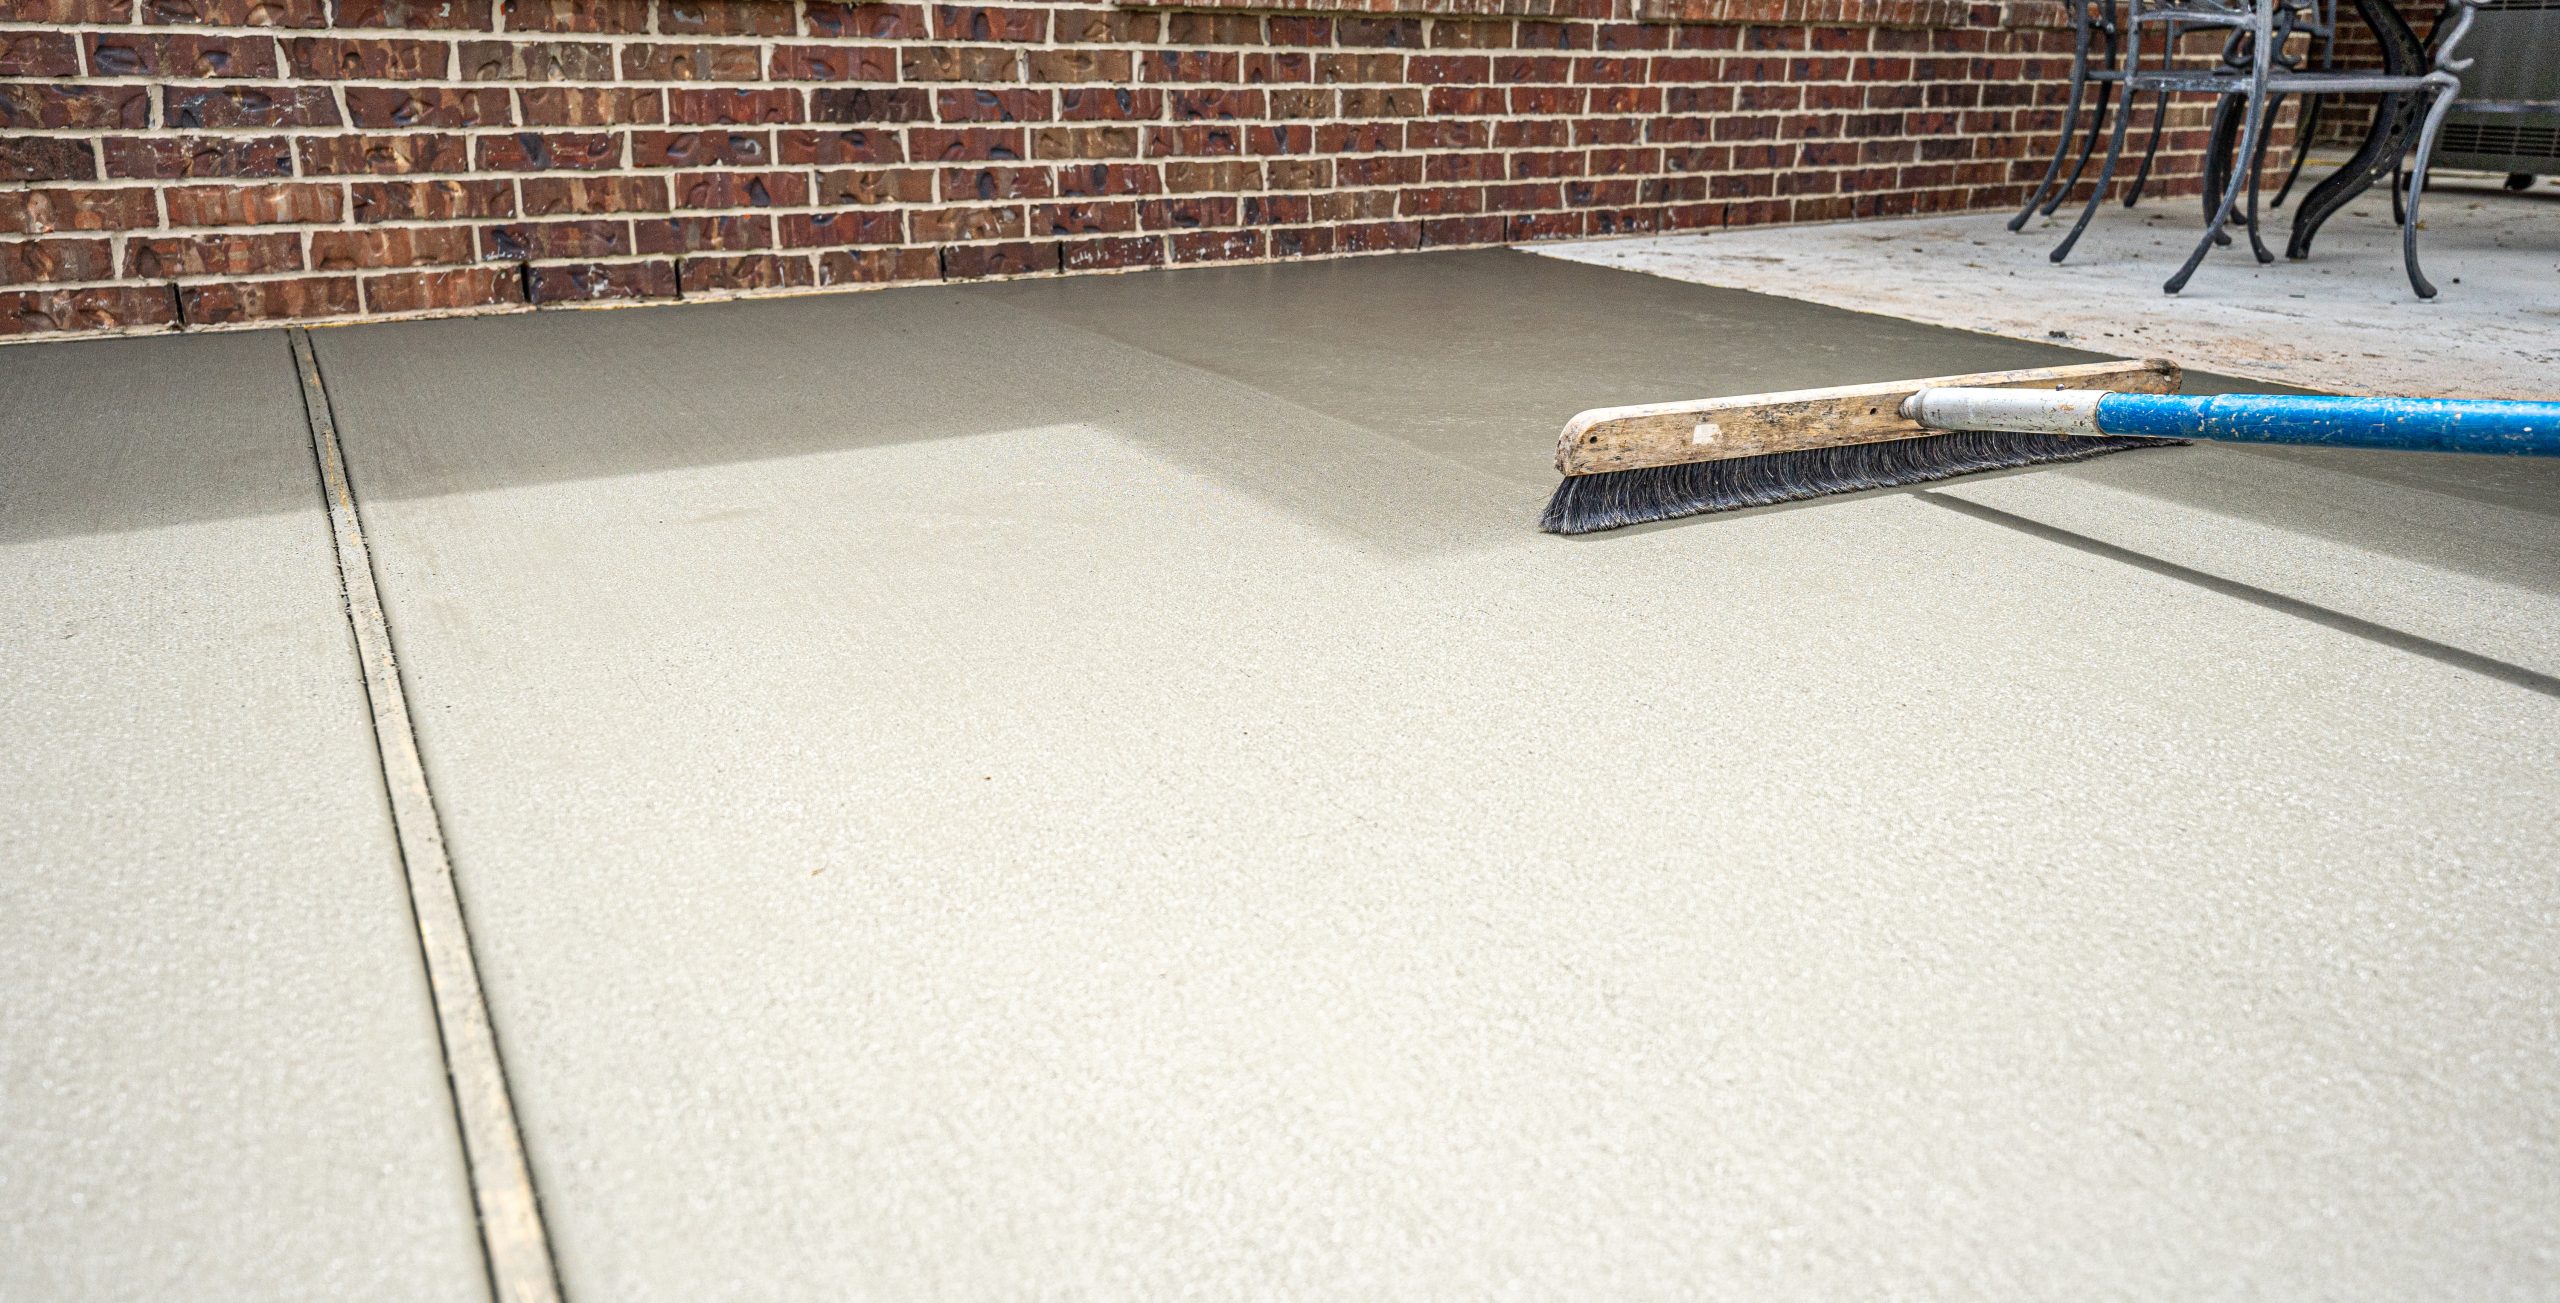
- Finish with a broom or appropriate texture for traction.
- Protect from rapid moisture loss with curing compound or wet curing methods.
- In cold seasons, use insulating blankets as needed to maintain curing temperatures.
- Seal after cure with a breathable sealer designed for exterior slabs in our region.
Safety features you will be glad you included
Small upgrades improve daily use and reduce risk when conditions get slick.
- Handrails when you have several risers, set to a comfortable height and grip size.
- Low-voltage stair lights or side sconces for clear nighttime visibility.
- Contrasting tread edges or nosings that help the eye read each step.
- Snow-melt systems or radiant tubing for low-maintenance winter safety on key projects.
Common mistakes to avoid
Even a strong concept can fall short if a few basics are missed. Watch out for these pitfalls during planning and construction.
- Inconsistent riser heights that break walking rhythm.
- Too-small top landing that fights the door swing.
- Flat treads that collect water and freeze into slick patches.
- Overly smooth finishes that reduce traction in rain or snow.
- Downspouts that discharge across the steps.
- Skipping sealers or using the wrong de-icer for concrete.
Quick planning checklist
- Measure total rise accurately from walkway to threshold.
- Select a target riser height and calculate the number of steps.
- Plan a landing at least 36 inches deep, ideally 48 to 60 inches.
- Set tread depth at 11 to 12 inches with a safe nosing.
- Choose a traction finish that suits your style and climate.
- Design drainage to move water away from the house and stairs.
- Plan handrails, lighting, and electrical if needed.
- Coordinate with your local code department for permits and rail requirements.
- Finalize colors, textures, and any borders or stone accents.
- Schedule construction for favorable weather and proper curing time.
FAQs about concrete front steps and stoops
How deep should treads be for comfort?
Most people prefer 12 inch treads. Do not go below 11 inches unless space is extremely tight. Deeper treads feel more relaxed and pair well with wider steps for an inviting look.
What is a good riser height?
Try to stay between 6 and 7.25 inches. Keep every riser the same height for safety and comfort.
How big should the top landing be?
Plan at least 36 inches deep. A range of 48 to 60 inches feels better and makes everyday use easier.
What finish gives the best traction in winter?
A broom finish is a reliable choice. Exposed aggregate adds even more grip. For stamped concrete, use a non-slip additive in the sealer.
Do I need handrails?
Handrail requirements vary by code, often based on the number of risers and height of the stair. Even when not required, handrails improve safety. Check with your local authority to confirm.
Can I add stone to my concrete steps?
Yes. Stone or brick veneers on risers, sidewalls, or cheek walls add rich texture. They look great with integrally colored concrete treads.
Why homeowners choose Custom Concrete & Stone Design
Custom Concrete & Stone Design brings decades of hands-on experience to every stoop and stair project. We blend engineering know-how with design sensibility so your steps look right and feel great. Our team handles the details that matter, from precise rise and run to practical drainage, clean edges, and finishes that match your home’s style. We serve Milwaukee, Waukesha, Ozaukee, Washington, Racine, and Kenosha Counties with a commitment to quality, clear communication, and honest schedules.
Beyond steps, our services include stamped concrete, driveways, patios, retaining walls, garages, basements, and foundations. If you want a cohesive plan for your entry, walkway, and front yard hardscape, we can design and build it as one integrated project.
Get started with a tailored plan
Ready to turn these concrete steps ideas into a design that fits your home, budget, and timeline? Here is how we make it easy.
- On-site assessment: We measure the total rise, check drainage patterns, and review access and safety needs.
- Design options: We present sketches with rise and run, landing sizes, and layout ideas such as straight, L-shaped, or U-shaped stairs.
- Style selections: We help you choose textures, colors, borders, and lighting to achieve the look you want.
- Build plan: We set a schedule, confirm permits if required, and outline how we will protect landscaping during work.
- Construction: Our crew forms, reinforces, pours, and finishes the stairs with attention to detail and durability.
Comfort, safety, and curb appeal begin at your front steps. With the right rise and run, a generous landing, and high quality finishes, every arrival feels better. Talk to Custom Concrete & Stone Design about your entry. We will bring practical concrete steps ideas, proven construction, and a friendly process that puts your needs first. Let us help you plan a stoop that welcomes you home, season after season.