Why a Penny in the Crack Matters
The penny test is a simple way to judge the size of a floor crack and decide what to do next. Place a penny on its thin edge and see if it slips into the gap. If it slides in with little resistance, the opening is roughly the thickness of a penny, which is close to one sixteenth of an inch. That may not sound like much, but on a concrete floor it can point to movement, moisture pathways, or a weak spot in the slab. A gap that small does not always mean an emergency. It does mean you should pay attention, document what you see, and plan your next steps. The sooner you act, the easier and more affordable your options will be.
In Southeast Wisconsin, seasonal swings, freeze and thaw cycles, and varied soils add stress to floors and foundations. Even a hairline fracture can expand after heavy rain or spring melt. Sealing foundation cracks at the right time helps block water, radon, and insects, and it can slow further damage. The team at Custom Concrete & Stone Design has helped homeowners across Milwaukee, Waukesha, Ozaukee, Washington, Racine, and Kenosha counties decide when a crack is cosmetic and when it needs a structural fix. Use this guide to understand what a penny-wide floor gap means, what to watch for, and how repairs work.
Common Reasons Floors Crack in Southeast Wisconsin
Concrete is strong in compression but it can shrink, settle, or shift due to the environment and site conditions. Knowing the cause helps you pick the right repair.
- Concrete shrinkage as the slab cures. Hairline surface cracks are common in the first year.
- Poor subgrade compaction. If the base under the slab was not compacted, voids can form and the floor can settle unevenly.
- Water and drainage issues. Hydrostatic pressure, clogged gutters, short downspouts, or negative grading can push water under the slab.
- Freeze and thaw cycles. Water in or under concrete expands when it freezes and widens cracks.
- Soil movement. Expansive or soft soils shift with moisture changes and affect the slab.
- Missing or misplaced control joints. Without proper joints, natural shrinkage cracks wander across the floor.
- Heavy point loads. Safes, equipment, stacked materials, or vehicles can exceed the floor design in one spot.
- Tree roots and nearby excavation. Root growth or digging close to the foundation can disturb soil support.
Does a Penny-Wide Gap Mean Trouble?
Use these guidelines to put what you see in context. Keep in mind that crack behavior over time matters more than a single snapshot.
- Hairline fracture that will not take a penny edge. This is usually cosmetic and often related to shrinkage. Mark it with a pencil and recheck in a few months.
- Penny fits snugly on edge. Treat this as a caution sign. Plan on sealing foundation cracks to keep out moisture and monitor for change.
- Nickel on edge fits easily or crack is wider than one eighth of an inch. Get a professional evaluation, especially if the crack lengthens or branches.
- Vertical displacement where one side of the crack is higher than the other. This can be a trip hazard and a structural concern. Call a pro right away.
- Crack has damp edges, white mineral deposits, or a musty smell. Water is using the crack as a pathway. Sealing needs to be paired with drainage corrections.
- New cracks appear quickly after heavy rain, snowmelt, or drought. Changes in soil moisture or pressure are at work and should be addressed.
When to Worry and Call a Professional
Sealing foundation cracks is often the right first step, but some signs call for a deeper look. Contact a specialist if you notice any of the following in your home or business.
- Cracks that grow longer or wider within weeks.
- Floor slopes that you can feel when you walk, or rolling furniture that will not sit still.
- Doors or windows sticking, new gaps around frames, or misaligned latches.
- Stair-step cracks in masonry walls, chimney separation, or a gap between walls and floors.
- Water intrusion during storms, a working sump pump that runs often, or standing water near the foundation.
- Multiple cracks that intersect or form a map pattern across the slab.
- Noticeable vertical offset along a crack or hollow-sounding areas that hint at voids beneath the slab.
DIY or Professional? Understanding Your Options
For tight, stable floor cracks with no height difference, a do-it-yourself approach can work and save money. The goal is to block moisture and debris, restore a smooth surface, and make future monitoring easy. For wider, moving, or wet cracks, or if there is any vertical displacement, partner with a concrete professional. Custom Concrete & Stone Design can confirm the cause and recommend long-lasting repairs that match your budget and your floor’s use.
DIY Steps for Non-Structural Cracks
If your penny test suggests a tight, non-structural crack, you can try a simple seal. Always follow product directions and use safety gear.
- Dry the area. Run a dehumidifier and wait for at least one to two dry days. Sealants bond best to dry concrete.
- Clean the crack. Use a wire brush, an angle grinder with a crack chaser blade, or a cold chisel to remove loose material. Vacuum thoroughly.
- Assess depth. If the crack is deeper than half an inch, insert a foam backer rod to control sealant depth.
- Choose the right product. For floors, a flexible polyurethane or polyurea joint filler works well for moving hairline to one eighth inch cracks. For rigid structural repair, epoxy injection is used by pros.
- Mask edges if appearance matters. Use painter’s tape along both sides of the crack.
- Apply sealant. Cut the tip to match the width, fill from the bottom up, and slightly overfill to allow for shrinkage. Tool smooth within the working time.
- Let it cure. Keep traffic off the area until the product is fully cured per the label.
- Monitor. Mark the ends of the crack with a date. Recheck after major weather swings. If the seal tears or the crack widens, call a professional.
Note that casual latex caulk is not ideal for a floor. It does not bond strongly to concrete, scuffs easily, and often peels. Choose materials designed for concrete control joints and crack repair.
Professional Solutions Custom Concrete & Stone Design Uses
When a crack is wide, active, or linked to water or settlement, targeted professional methods deliver better performance and peace of mind.
- Epoxy crack injection. Bonds the two sides of a structural crack back together. Best for dry cracks with little expected movement and for load-bearing areas.
- Polyurethane injection. Expands to stop active leaks in wet cracks and remains flexible. Useful in basements with water intrusion.
- Routing and sealing. Widening a crack to a neat profile and filling it with a semi-rigid polyurea for durable, traffic-ready floors in garages and shops.
- Carbon fiber staples or straps. Stitching across a crack to resist tensile forces and help prevent further separation.
- Slabjacking or polyjacking. Lifting sunken slabs by filling voids with cementitious grout or specialized foam. Restores elevation and reduces tripping hazards.
- Drainage improvements. Extending downspouts, regrading soil, adding interior drain tile and sump systems, and improving surface runoff paths to reduce hydrostatic pressure.
- Joint cutting and control joint sealing. Adding or improving joints so the slab can move in a controlled way while staying sealed against debris and liquids.
- Foundation support in coordination with engineers. When needed, we work with structural partners on piering or underpinning plans to stabilize the structure before cosmetic fixes.
A Pro-Level Guide to Sealing Foundation Cracks
If you want to understand what a thorough professional process looks like, here is how Custom Concrete & Stone Design approaches sealing foundation cracks for long-term results.
- Inspection and testing. We map cracks, measure widths, check for vertical offsets, and use moisture meters. We also look at gutters, grading, and nearby landscaping.
- Cause analysis. We determine if the crack is due to shrinkage, settlement, soil movement, or water pressure. The cause guides the fix.
- Surface prep. We remove contaminants and weak concrete. Clean bonding surfaces matter more than any single product choice.
- Crack conditioning. We decide whether to route the crack for better sealant geometry or to keep it tight for injection.
- Material selection. Epoxy for structural bonding, polyurethane for dynamic or wet cracks, and semi-rigid polyurea for traffic areas. We match the chemistry to the job.
- Application. We follow manufacturer specifications for temperature, moisture conditions, mixing, and cure windows. Proper injection or placement is key.
- Finishing. We shave or grind flush, color-match when possible, and restore traction on garage slabs and steps.
- Water management. If the crack was driven by moisture, we address downspouts, grading, or interior drainage so the repair stays sound.
- Documentation and monitoring plan. We provide photos, notes, and recommendations for future checks, especially through seasonal changes.
Preventing Future Cracks and Gaps
Good prevention reduces the number of repairs you will face over the life of your floor and foundation.
- Direct water away from the house with long downspout extensions and clean gutters.
- Maintain positive grading so soil slopes away from the foundation.
- Use a dehumidifier in basements to reduce moisture cycling.
- Avoid using deicing salts on concrete. Use sand for traction instead.
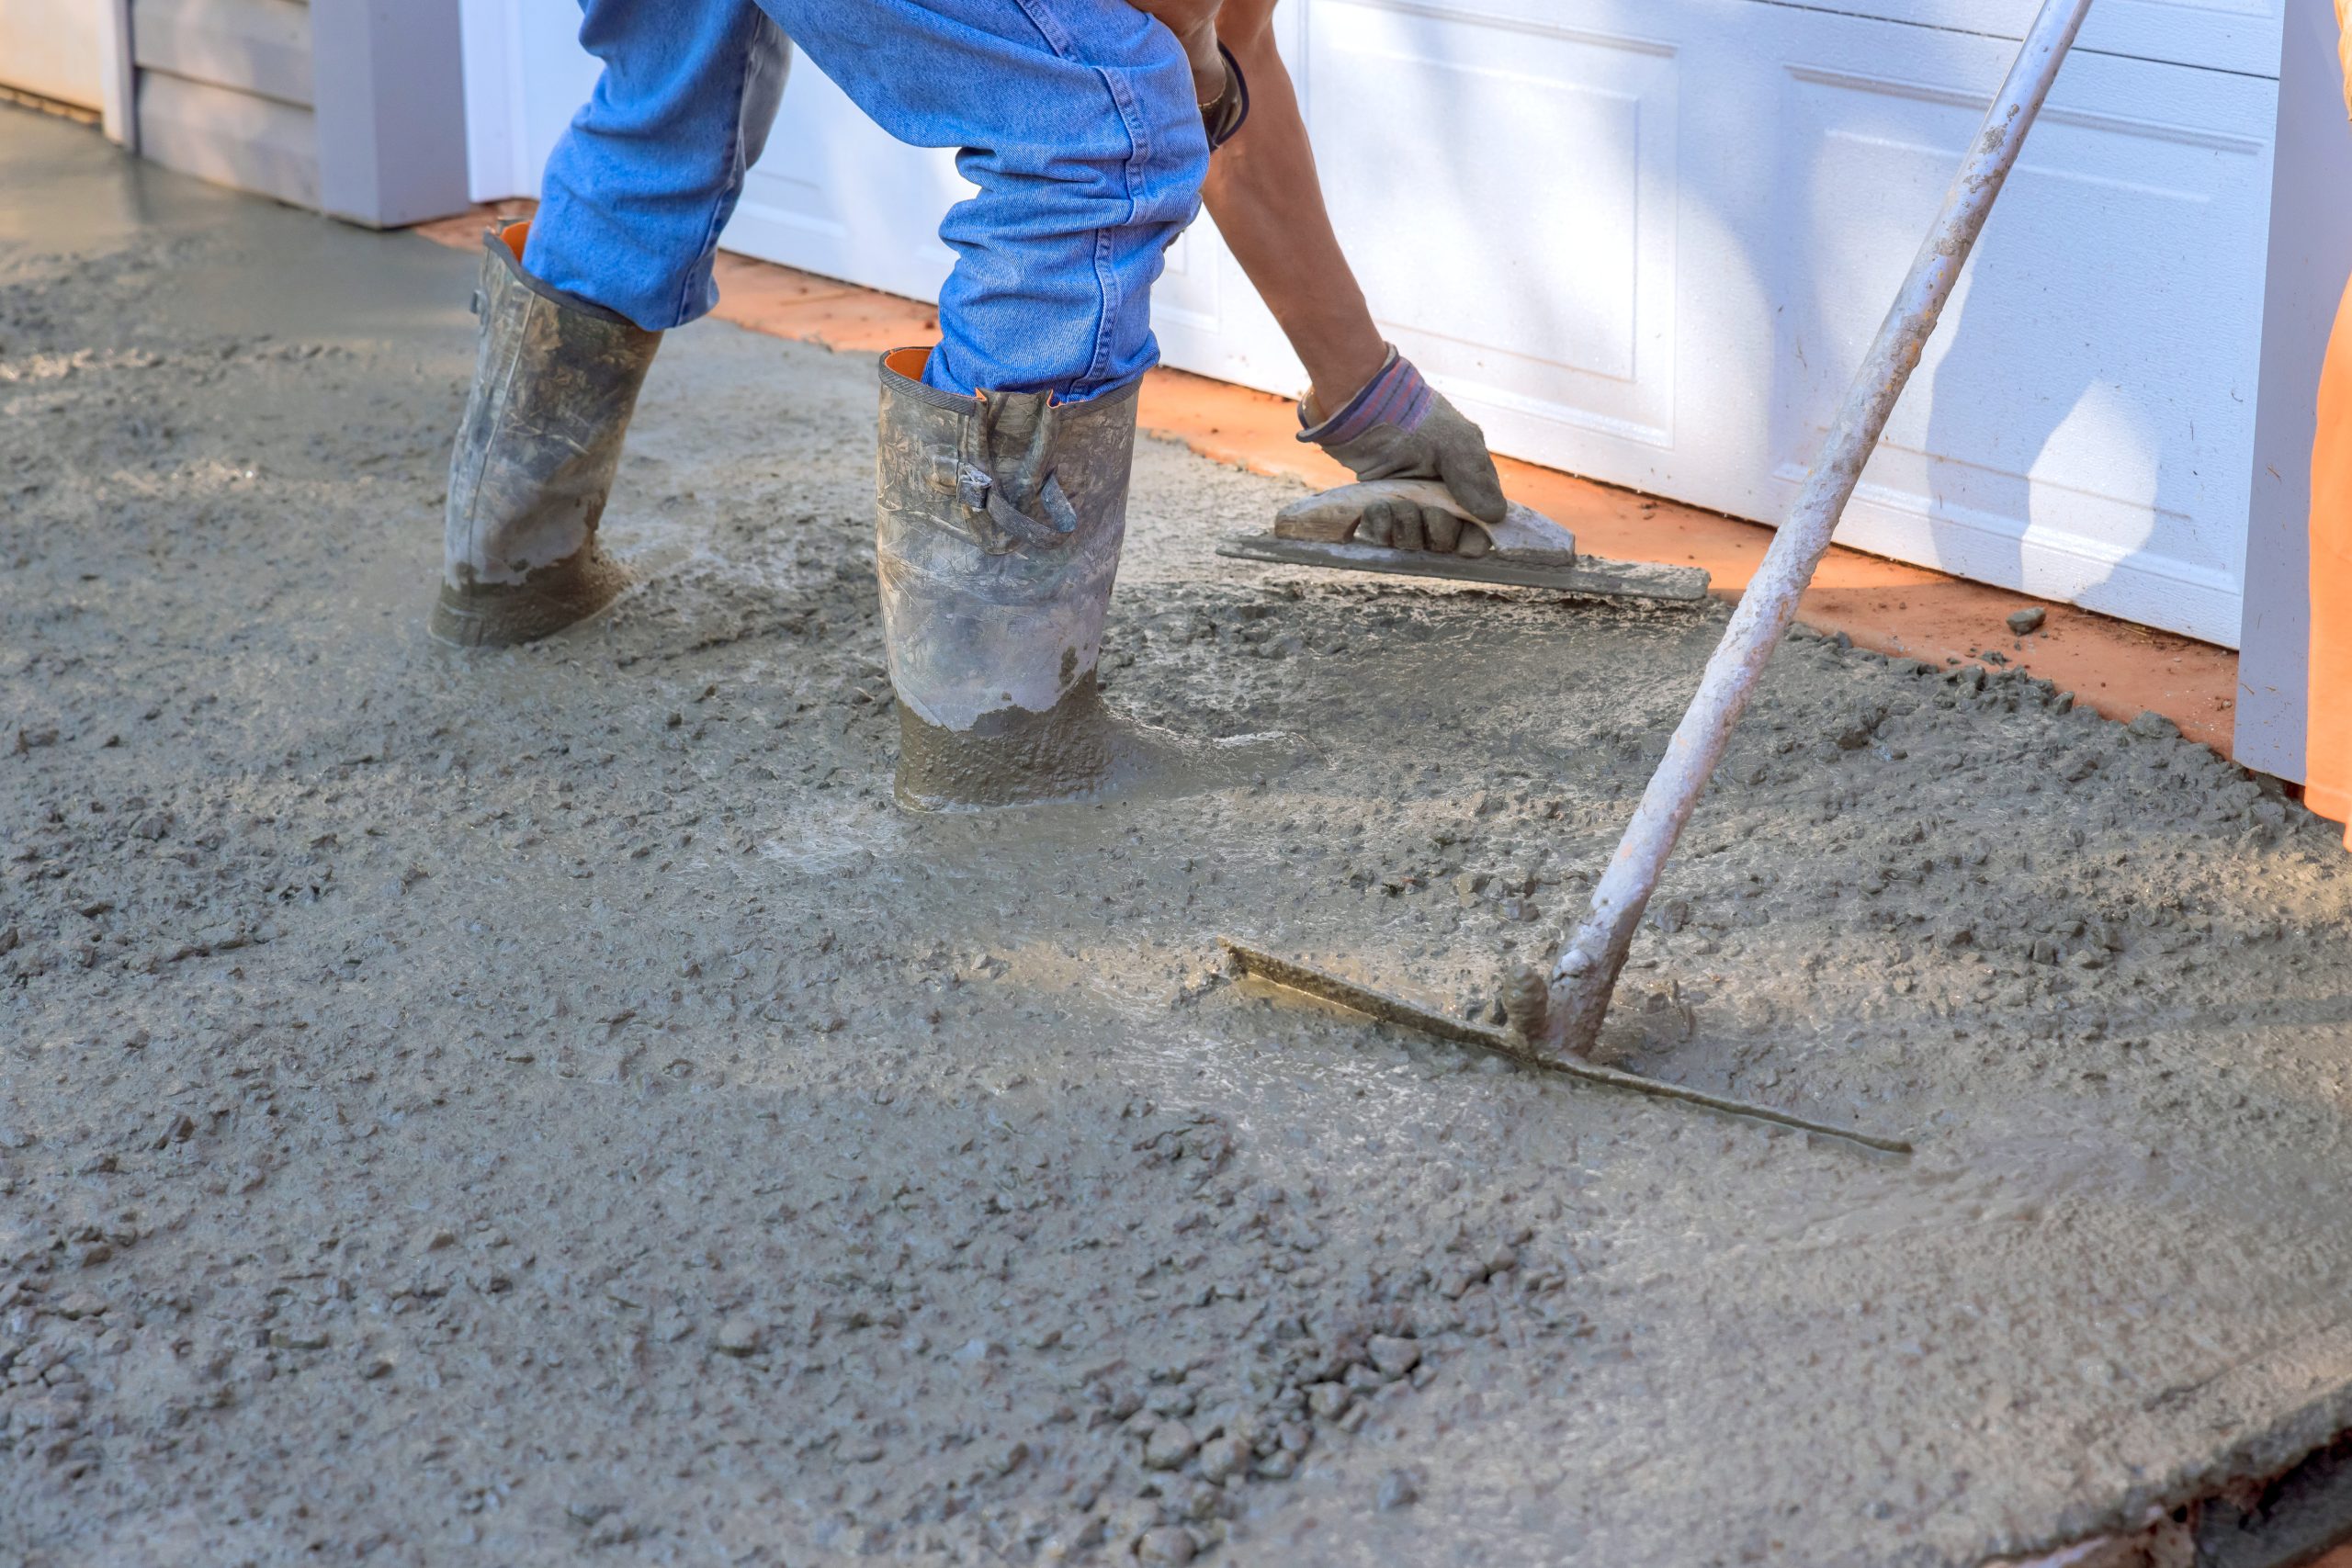
- If you pour new concrete, include well-planned control joints at the right spacing and depth, and saw them as soon as the concrete can handle it.
- Choose quality mixes with proper air entrainment for freeze and thaw conditions.
- Protect new slabs during curing. Keep them moist for the recommended period to reduce shrinkage cracking.
- Install or maintain vapor barriers under interior slabs to reduce moisture migration.
- Trim large roots that push close to slabs and avoid planting thirsty trees right next to the foundation.
How Custom Concrete & Stone Design Evaluates Your Floor
Custom Concrete & Stone Design is a Milwaukee-based team with more than 30 years of experience delivering concrete work that lasts. We serve homeowners and businesses across Southeast Wisconsin, including Milwaukee, Waukesha, Ozaukee, Washington, Racine, and Kenosha counties. Our approach blends craftsmanship with careful diagnostics so your repair addresses the real problem.
- Listening first. We ask about the age of the slab, water history, heavy loads, and past repairs.
- Detailed survey. We create a crack map, measure widths, and check slab elevation with lasers to find dips and humps.
- Moisture and drainage review. We look for damp spots, test humidity, and study how storm water moves around your home.
- Clear plan. We explain whether sealing foundation cracks alone will be enough or if you need stabilization or drainage improvements as well.
- Custom design. We tailor materials and methods to your space, whether that is a basement, garage, shop floor, or commercial facility.
- Quality execution. Our skilled craftsmen work cleanly, use top-tier materials, and stand behind the results.
Typical Costs and Timelines
Every home is different, but these general ranges can help you budget. Prices vary by crack length, access, moisture level, and whether drainage fixes are needed.
- DIY sealant for a small non-structural crack. About ten to thirty dollars for a tube of polyurethane or polyurea, plus basic tools.
- Professional routing and sealing of a typical floor crack. Often two hundred to six hundred dollars depending on length and prep.
- Epoxy or polyurethane injection for a structural or leaking crack. Commonly three hundred to eight hundred dollars per crack, higher for complex conditions.
- Slabjacking or polyjacking to lift a sunken section. Usually eight hundred to three thousand dollars per area based on size and voids.
- Interior drain tile and sump improvements. Often two thousand to eight thousand dollars depending on the perimeter length and discharge plan.
- Partial slab replacement when damage is extensive. Pricing typically ranges per square foot and depends on thickness, access, and finish.
Most single-crack sealing projects take from a few hours to a day, with cure times that can extend into the next day. Larger stabilization or drainage projects may take several days.
Frequently Asked Questions
Is sealing foundation cracks enough on its own?
Sometimes yes. If the crack is non-structural and caused by shrinkage, a proper seal can be a complete fix. If the crack is caused by settlement or water pressure, sealing is one part of a broader solution. The root cause must be addressed through drainage improvements, slab stabilization, or both to keep problems from returning.
Can I fill a crack with regular caulk?
Standard household caulk does not last on concrete floors. It does not bond well, it tears under foot traffic, and it tends to peel when damp. Use products made for concrete, like polyurethane, polyurea, or epoxy, and follow surface preparation steps for a durable repair.
How long does a professional crack repair last?
With good prep, quality materials, and stable conditions, professional sealing and injections can last many years. Longevity improves when water is managed and heavy loads are controlled. Custom Concrete & Stone Design selects materials that match your floor’s movement and use to extend service life.
Will sealing foundation cracks increase my home value?
Sealed, stable floors look better, function better, and signal to buyers that the home is maintained. Repairs paired with improved drainage and documentation of the work can help protect value and reduce buyer concerns about moisture or foundation issues.
Your Next Step
If you can fit a penny in the crack, do not ignore it. Start with observation and a simple seal for small, stable gaps. If you see widening, vertical offset, water signs, or several cracks at once, bring in a professional. Custom Concrete & Stone Design offers clear assessments and practical plans tailored to your space and budget. Our team has decades of experience across Southeast Wisconsin, and we use top-quality materials with skilled craftsmen to deliver results you can trust.
Ready for a dependable answer and a clean, long-lasting fix? Contact Custom Concrete & Stone Design to schedule an evaluation and learn the best options for sealing foundation cracks, stabilizing your slab, and protecting your home.